|

The Complete Guide to Windshield Wiper Arms: Signs, Fixes, Replacement & Buying Tips

Sharing is Caring

When drivers think about windshield wipers, the first thing that comes to mind is usually the wiper blade. It’s the part that clears away rain, snow, and debris, so naturally it gets all the attention. However, there’s another equally important component that often goes unnoticed—the wiper arm.

A worn-out or damaged wiper arm can cause poor visibility, uneven wiping, annoying noises, and even scratches on your windshield. In many cases, drivers replace the blade only to discover that the problem still exists because the real culprit is the wiper arm.

In this guide, we’ll explain the difference between a wiper arm and a wiper blade, the warning signs that indicate your wiper arm needs replacement, how to troubleshoot common issues, and how to replace or choose the right wiper arm for your vehicle.

Wiper Arm vs. Wiper Blade: What's the Difference?

Although they work together, the two components serve completely different purposes.

Wiper Blade
  • The rubber component that directly contacts the windshield.
  • Removes rain, snow, dust, and debris.
  • Usually replaced every 6–12 months depending on weather conditions.
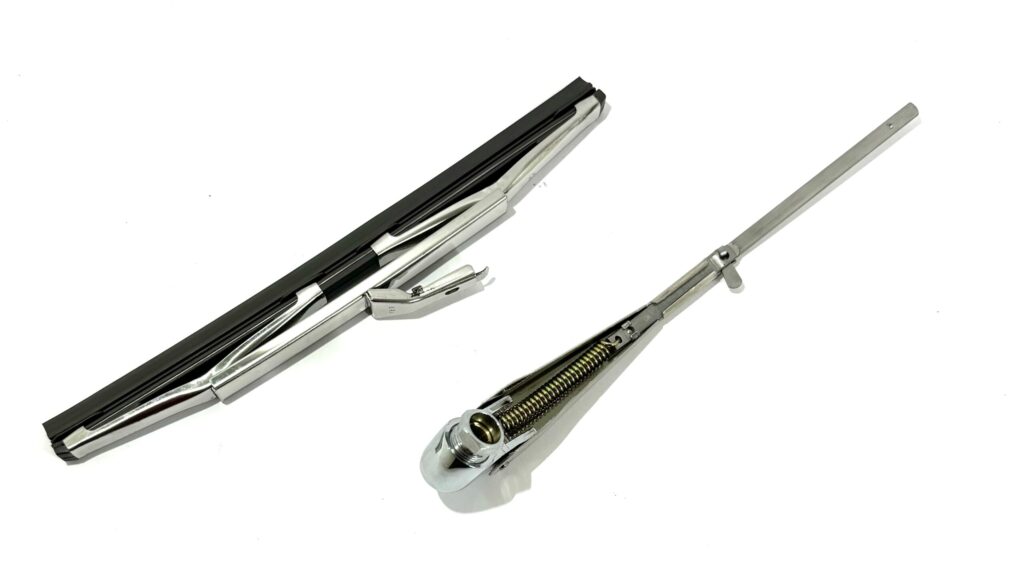
Wiper Arm
  • The metal arm attached to the wiper motor.
  • Holds the blade securely against the windshield using spring tension.
  • Transfers movement from the motor to the blade.
  • Typically lasts several years but can wear out due to corrosion, impact, or fatigue.

If the blade is new but still doesn’t clean the windshield properly, the problem is often the wiper arm rather than the blade itself.

7 Warning Signs Your Wiper Arm Needs Replacement

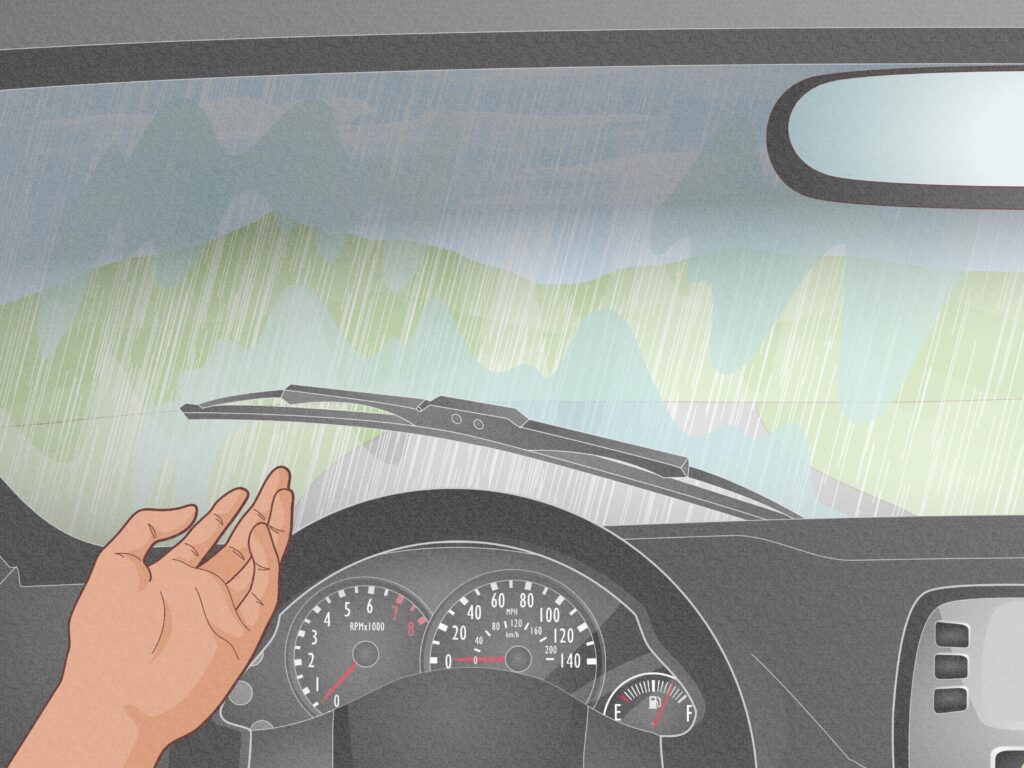
1. Uneven Wiping

If certain areas of your windshield remain untouched even after installing new blades, the arm may be bent or no longer applying even pressure.

2. Loose Wiper Arm

A loose arm can wobble during operation, reducing wiping performance and increasing wear on both the blade and the windshield.

3. Chattering or Skipping

While worn blades often cause chatter, weakened spring tension in the arm can produce the same symptom by preventing consistent contact with the glass.

4. Visible Rust or Corrosion

Exposure to rain, snow, road salt, and moisture can eventually corrode the arm, affecting both appearance and performance.

5. Bent or Misaligned Arm

Accidental impacts, frozen blades, or improper handling can bend the arm, preventing the blade from sitting flat against the windshield.

6. Blade Lifts Off at Highway Speeds

If the blade lifts away from the windshield while driving, the spring inside the arm may have weakened and no longer provides enough pressure.

7. Squeaking Despite New Blades

When new blades continue to squeak, the arm may not be applying consistent pressure across the windshield.

Why Your Windshield Wiper Isn't Working Even After Replacing the Blade

Many drivers assume a new blade will solve every wiping problem. Unfortunately, that’s not always the case.

If you’ve already installed new blades but the issue remains, check the following:

  • Bent wiper arm
  • Loose retaining nut
  • Weak spring tension
  • Corroded pivot point
  • Damaged wiper linkage
  • Worn wiper motor
  • Incorrect blade installation

Replacing the blade addresses only one part of the system. A damaged arm can continue causing poor visibility regardless of how new the blade is.

How to Fix a Loose Wiper Arm

A loose wiper arm doesn’t always require immediate replacement.

Try these simple checks:

Tighten the retaining nut

Lift the protective cap at the base of the arm and ensure the retaining nut is properly tightened.

Inspect the splines

If the splines inside the arm are stripped, tightening the nut won’t solve the problem. The arm will need replacement.

Check spring tension

If the arm doesn’t press firmly against the windshield, the internal spring may have weakened beyond repair.

Look for damage

Bent or cracked arms should always be replaced instead of repaired.

If the arm continues to move loosely after tightening, replacement is usually the safest and most reliable solution.

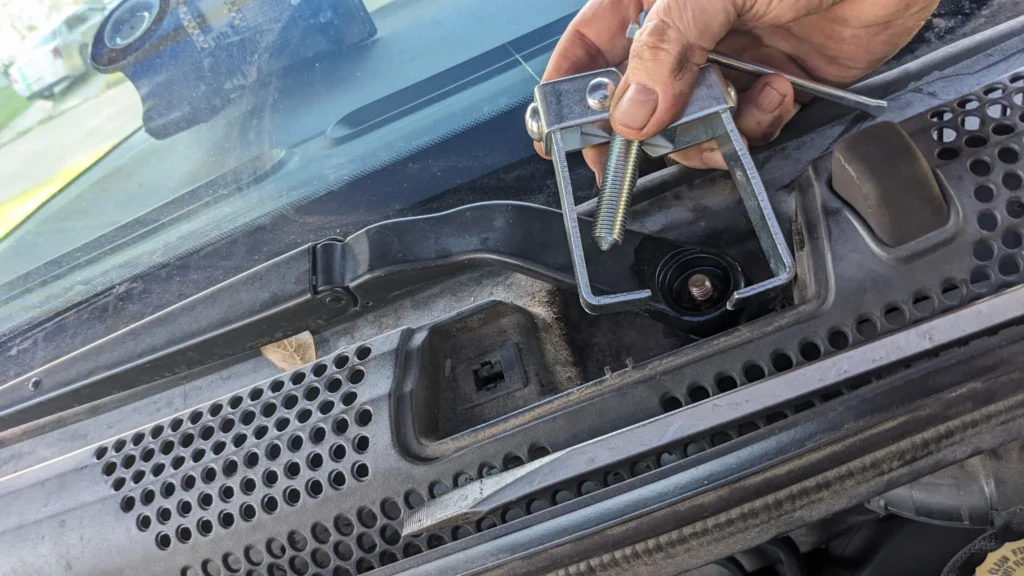
How to Remove a Stuck Wiper Arm Safely

Older vehicles often have wiper arms that seize onto the pivot shaft because of rust and corrosion.

Follow these steps carefully:

  1. Lift the wiper arm away from the windshield.
  2. Remove the plastic cap covering the retaining nut.
  3. Remove the nut using the correct socket size.
  4. Wiggle the arm gently while pulling upward.
  5. Apply penetrating lubricant if corrosion is present.
  6. If necessary, use a dedicated wiper arm puller rather than forcing the arm off.
  7. Clean the pivot shaft before installing the new arm.

Avoid using excessive force or prying against the windshield, as this can easily crack the glass.

How to Replace a Windshield Wiper Arm

Replacing a wiper arm is a straightforward DIY job that usually takes less than 15 minutes.

Step 1: Purchase the Correct Replacement

Ensure the replacement arm matches your vehicle’s year, make, and model.

Step 2: Remove the Old Arm

Follow the safe removal steps described above.

Step 3: Align the New Arm

Position the replacement arm at the same resting angle as the original.

Step 4: Tighten the Retaining Nut

Secure the arm according to the manufacturer’s recommended torque.

Step 5: Install the Wiper Blade

Attach the blade if it isn’t already installed.

Step 6: Test the System

Operate the washers and wipers to verify smooth movement and complete windshield coverage.

If everything is aligned correctly, the new arm should move quietly and evenly across the windshield.

How to Choose the Right Wiper Arm

Not every wiper arm fits every vehicle. Choosing the correct replacement ensures proper performance and long-term reliability.

When shopping, consider:

Vehicle Compatibility

Always search using your vehicle’s year, make, model, and trim level.

Attachment Style

Different vehicles use different mounting systems, including hook, bayonet, side-lock, and pin-style designs.

Driver or Passenger Side

Some vehicles use different arm lengths and shapes on each side.

Front or Rear Wiper

Rear wiper arms are usually unique and cannot be swapped with front assemblies.

OEM vs. Aftermarket

OEM parts offer factory fit and performance, while quality aftermarket options often provide excellent value and dependable reliability when sourced from trusted manufacturers.

Tips to Extend the Life of Your Wiper Arms

A few simple maintenance habits can help your wiper arms last much longer:

  • Clean the arms regularly.
  • Remove ice carefully instead of forcing frozen blades free.
  • Replace worn blades before they damage the arm.
  • Wash away road salt during winter.
  • Avoid lifting the arms excessively unless necessary.
  • Inspect the arms during routine vehicle maintenance.

Regular inspections can help prevent costly repairs and improve driving safety throughout the year.

Final Thoughts

Your windshield wiper system is only as effective as its weakest component. While wiper blades naturally receive most of the attention, the wiper arm plays an equally important role in maintaining clear visibility.

If you’ve replaced your blades but still experience streaking, skipping, uneven wiping, or loose movement, it’s worth inspecting the wiper arm before assuming there’s a larger mechanical issue.

Replacing a worn or damaged wiper arm is often an inexpensive repair that can significantly improve visibility, enhance driving safety, and extend the life of your new wiper blades.

If you’re ready to replace your wiper arm or upgrade your windshield wiper components, West Can Auto Parts offers a wide selection of quality parts to help you find the right fit for your vehicle. Whether you need a replacement wiper arm, new wiper blades, or other maintenance essentials, shopping with a trusted supplier can save time and help ensure you get the correct part the first time.

Whether you’re performing routine maintenance or troubleshooting an existing problem, understanding how wiper arms work can help you make informed decisions and keep your windshield clear in every season.

Disclaimer:

This blog is for educational and informational purposes only. For accurate diagnosis and proper vehicle repairs, always consult a certified automotive technician.

Similar Posts

Leave a Reply

Your email address will not be published. Required fields are marked *