
Brake Repair: Replacing Brake Pads
Vehicle brakes are one of the most important components, and the difference between the work set and the damaged set can be a difference between stopping in time or crashing into a garage door. By remembering this, it is very important for you to maintain the brakes of your vehicle at any time – whether you change the bearing or just add to the reservoir of brake fluid.
Instead of bringing your car to the garage every time the brake starts to waver, why not try to do some basic tests yourself? This will not only save your money but will also help you develop your mechanical skills further.
To make your own brake repair, just follow the steps listed below. Before you start, make sure you have all the right tools and equipment to be given the job.
Equipment needed
- A pair of gloves to protect your hands.
- Sockets are arranged to remove wheel nuts and other equipment.
- Copper Anti-seize compounds of heat resistance.
- Substitute brake liquid and brake pads.
- cleanser to remove dirt and dirt.
Brake repair instructions
- 1. First, start by checking the level of brake fluid. To do this, just open the hood open, strengthen it in its place and find the reservoir of the brake fluid. After you do this, check the fluid level and just add more if it is below the “full” reservoir line.
- 2. If the liquid level is ok but your brakes are still not functioning as it should, the next step is to change the brake pads of your vehicle. Do this one wheel at one time, follow each of the steps below.
- 3. Find the jacking point near the wheels you are going to do, and boost a vehicle – using a wooden lump at the end of your jack to protect the bottom of your chassis.
- 4. Before the wheels are completely from the ground, cracked each nut using Ratchet and Batang. After you do this, continue to boost the car to a little wheel from the ground.
- 5. Remove the wheels and place it safely out of the road.
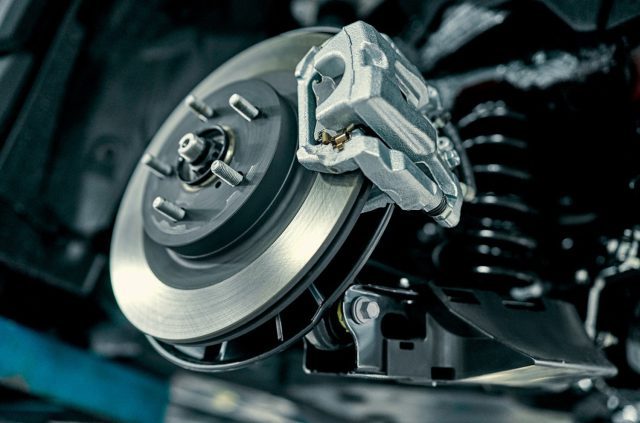
- 6. In front of you, you will see the brake disc (the bearing section biting to stop your wheels from moving) and caliper (the part attached to the disk). In the back of the caliper, you will see some bolts holding them in places – this needs to be removed using Ratchet and socket.
- 7. With loose-dependent caliper, use tie-wrap to stop it from blocking or damaging the vehicle brake hose.
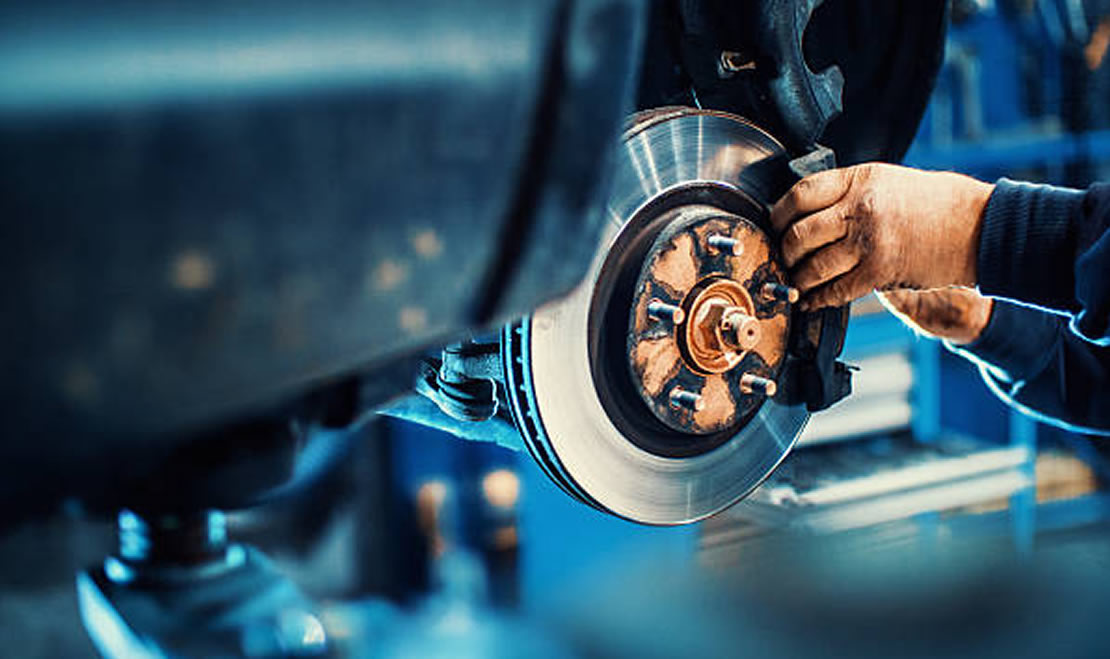
- 8. Now, remove the old pads sitting in front of you, in the brakes that are still attached to the disk. This may be held by a small metal clip, but so this is removed, they must slide out relatively easy (some WD40 must help everything if you feel a little confiscated).
- 9. Cover the backing plate of a new bearing with copper oil to stop it sticking to the caliper. Enter the new bearing and put everything back again. Return the wheels and your brake test at low speed – preferred not faster than 5mph.
If you feel the brakes have not increased since changing the bearing or adding the reservoir of the brake fluid, you might want to consider carrying your vehicle to local mechanics for deeper inspections.
Don’t forget, at West Can Auto Parts, you will find everything you need to make the brakes happy and healthy. You can visit out different location found in our website : westcanauto.com/our-locations/