


Similar Posts
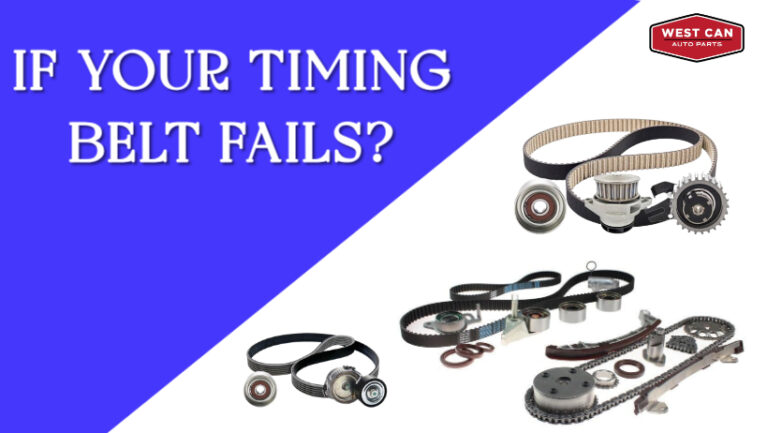
What Happens If Your Timing Belt Fails? Avoid Costly Repairs
Sharing is CaringYour vehicle’s timing belt is a critical component that keeps your engine running smoothly. It ensures the synchronization of the camshaft and crankshaft, allowing the engine’s valves to open and close at the right time. But what happens if this essential part fails? The consequences can be severe, leading to expensive engine repairs—or…
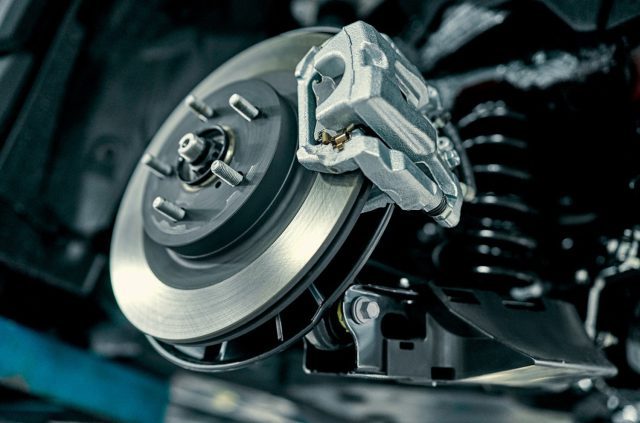
Signs Your Brake Rotors Need Replacing: Don’t Ignore These Warning Signals
Sharing is CaringBrake rotors are an integral part of your vehicle’s braking system, responsible for slowing down or stopping your car by creating friction with the brake pads. Over time, brake rotors can wear out due to heat and friction, compromising braking performance and safety. Recognizing the signs indicating the need for rotor replacement is…

How to Keep Your Car Battery from Overheating This Summer 2025
Sharing is CaringAs temperatures rise, so does the risk of car battery failure. The summer heat can be brutal on your vehicle’s battery, leading to reduced performance, shorter lifespan, and even complete breakdowns. To ensure you don’t get stranded under the scorching sun, follow these essential tips to protect your car battery from overheating this…
Driving with Awareness: Comfort, Convenience & Advanced Sensor Technology in Modern Vehicles
Sharing is CaringWhen we think of car technology, performance and safety often come to mind first—but what about comfort, convenience, and smart driving assistance? That’s where a different set of sensors comes into play—those designed not to keep the engine running but to make your drive easier, safer, and more enjoyable. These sensors are part…

Why Canadian Drivers Love Japanese Cars – And How to Keep Them Running Smooth
Sharing is CaringJapanese vehicles have long held a reputation for dependability, fuel efficiency, and long-term value. Whether it’s a Toyota RAV4 braving snowy commutes, a Honda CR-V handling city errands, or a Subaru Outback exploring off-road trails, these vehicles are a staple on Canadian roads. But even the most reliable rides require regular maintenance. While…

BUYING CAR SPARE PARTS ONLINE AND SAVE MONEY
Sharing is CaringYour car is a valuable and significant asset in which you invest in bringing some luxury and convenience at your home. However, routine use of the vehicle and the factors on road like road conditions, weather, etc. make it vulnerable to damage or wear of car spare parts. Moreover, it also needs time…